Monday, January 26, 2015
Center Skin Panel Backing Plates
Before installing the center skin panel, I need to add backing plates at each butt joint. This allows me to tie the skin panel into the structure on all sides of the panel. The approach is one of two different ways of dealing with the need to add multiple plywood panels on a boat and joining the panels together.
One approach is to scarf join the panels together end to end and then attach them to the boat. This can yield a very nice exterior finish and if done correctly, can be as strong as the rest of the panel. In areas of extreme curves or bending, this is probably the only way to join the panels unless the panel is applied in narrower pieces.
The scarfing approach has a few drawbacks for the builder who is primarily doing the work by themselves. First and foremost, the additional size of the joined panels makes it difficult to handle. On my boat, three panels would have to be joined together making the entire piece, 24 feet in length before trimming to size. Needless to say, this would be very difficult (but not impossible) to manage by yourself. Trimming the panel to size requires numerous sessions of installing and uninstalling ( as well as trimming and sanding) the panel before it is ready for installation. I do know of a builder who used this approach and was successful with it.
The second drawback from my perspective is that the larger panel requires a considerably longer time to install, with a corresponding increase in epoxy that needs application, and screws that need to be driven in place. I find my stamina to be challenged if it takes me longer than 2 hours to accomplish a single task. A 24 foot panel installation would undoubtedly take 4 or 5 hours (possibly longer) to get glued into place, all the screws driven down, and all the excess epoxy cleaned up. This estimate is based upon the length of time it took me to install a single panel and is an aggressive pace. Because of the time needed, trying to keep workable epoxy available during the installation would be very challenging.Again, not impossible, but at my age, I dont need the stress.
The second approach is to use butt joints. This allows panels to be installed one at a time and then joined together when needed. The joining together could, in theory, be done separately from the panel installation. A butt joint requires a backing plate to be installed in the inner surface of the joint. This backing plate needs to extend a sufficient distance onto each skin panel (6 inches each side in my case) and needs to be attached to both skin panels.
The biggest drawback to the butt joint approach is that the the backing plate is sometimes difficult to conform to a curve and therefore, the butt joint should preferably be in an area that is relatively flat. I had to deal with this (more in a few moments).
I have heard of a third approach that is similar to a butt joint in which the two panels are joined with fiberglass cloth on both sides, but I was not comfortable with this approach from a strength perspective. Admittedly, I am not that familiar with this technique and there may be more to it than I am aware of.
Because of the drawbacks to the scarfing method, I elected to go with butt joints on my skin panels. I have discussed this in several of my postings previously. The remainder of this posting will cover the installation of the center panel butt joint backing plates.
The skins already installed at the front and rear of the boat have a slight curve in the up and down direction. In addition, the front panel also has a slight twist to it in relation to the chine and sheer. The backing plates are from the same 9mm plywood used for the skins. They are 12 inches wide to allow 6 inches of mating surface on each side of the joint. The length is cut to allow the panel to fit between the sheer and the chine.
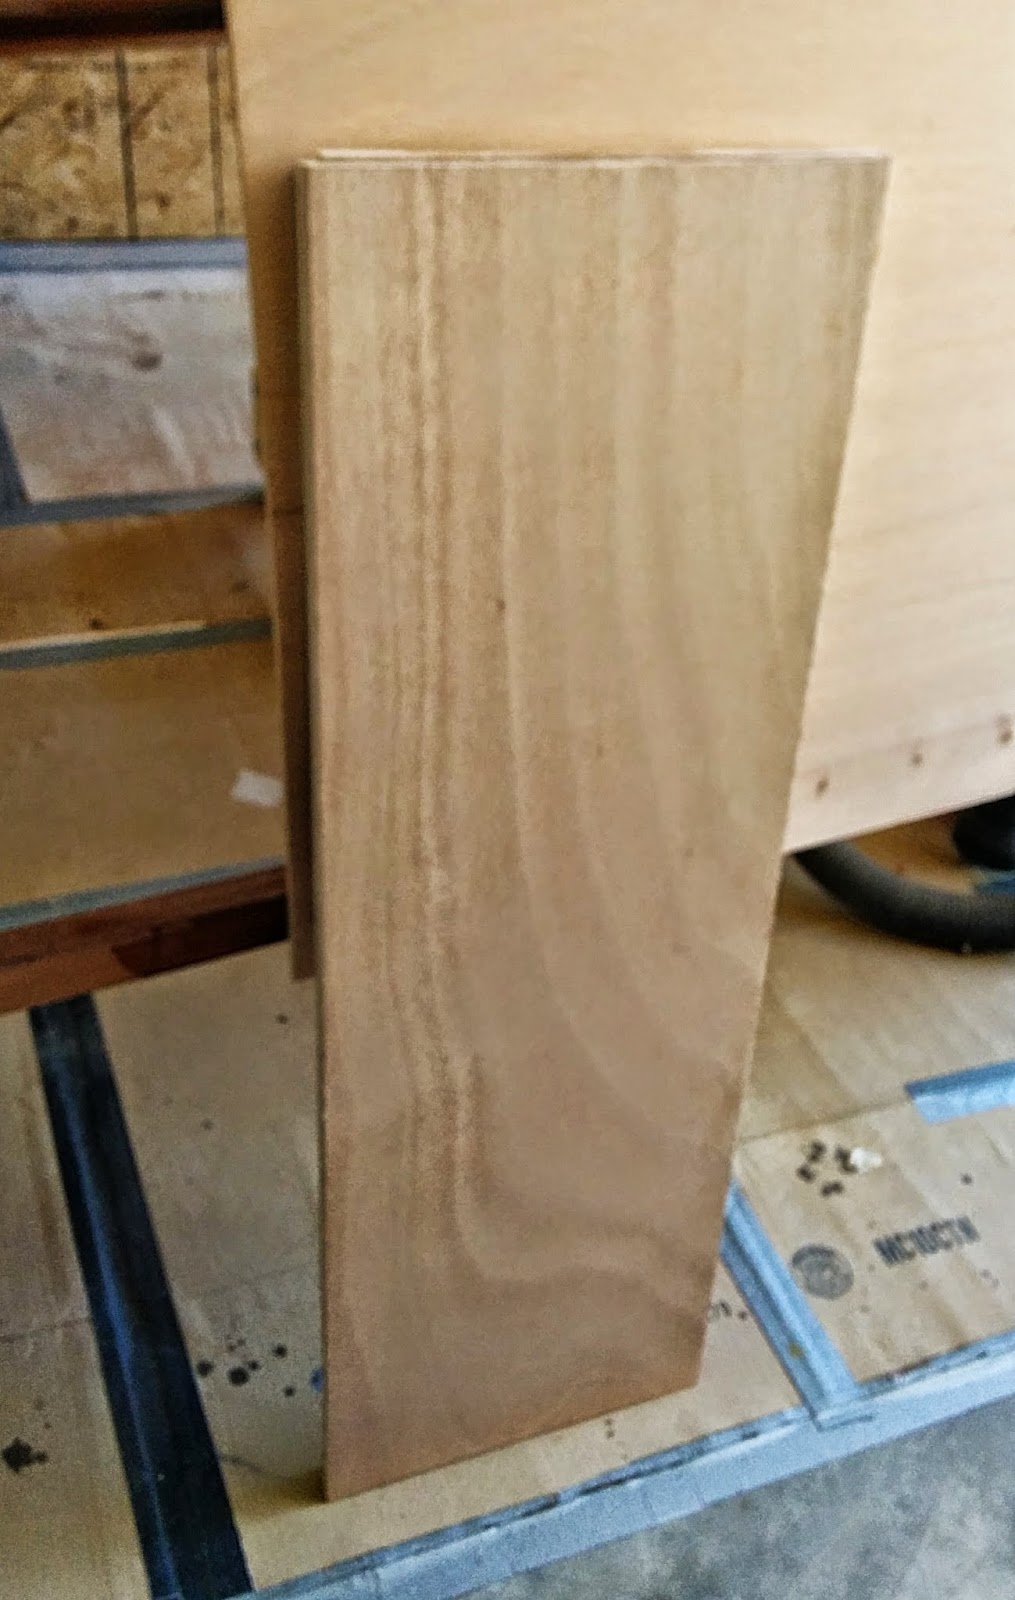
Because these plates are relatively short, getting them to conform to the previously mentioned curves is difficult due to the stiffness of the plywood. I decided to try and pre-bend them a bit using steam. I was a bit concerned about the steam heat causing the panels to delaminate, but the book I have on building plywood boats talks about using boiling water to get panels to bend when fitting them to the boat. So I figured it would be okay to try and if I didnt like the results, I could always try something else.
So I broke out the steaming technique I used previously on the chines and sheers (using plastic bagging and a steam generator). The panel was wrapped in the plastic sheeting and then connected to the steam generator.
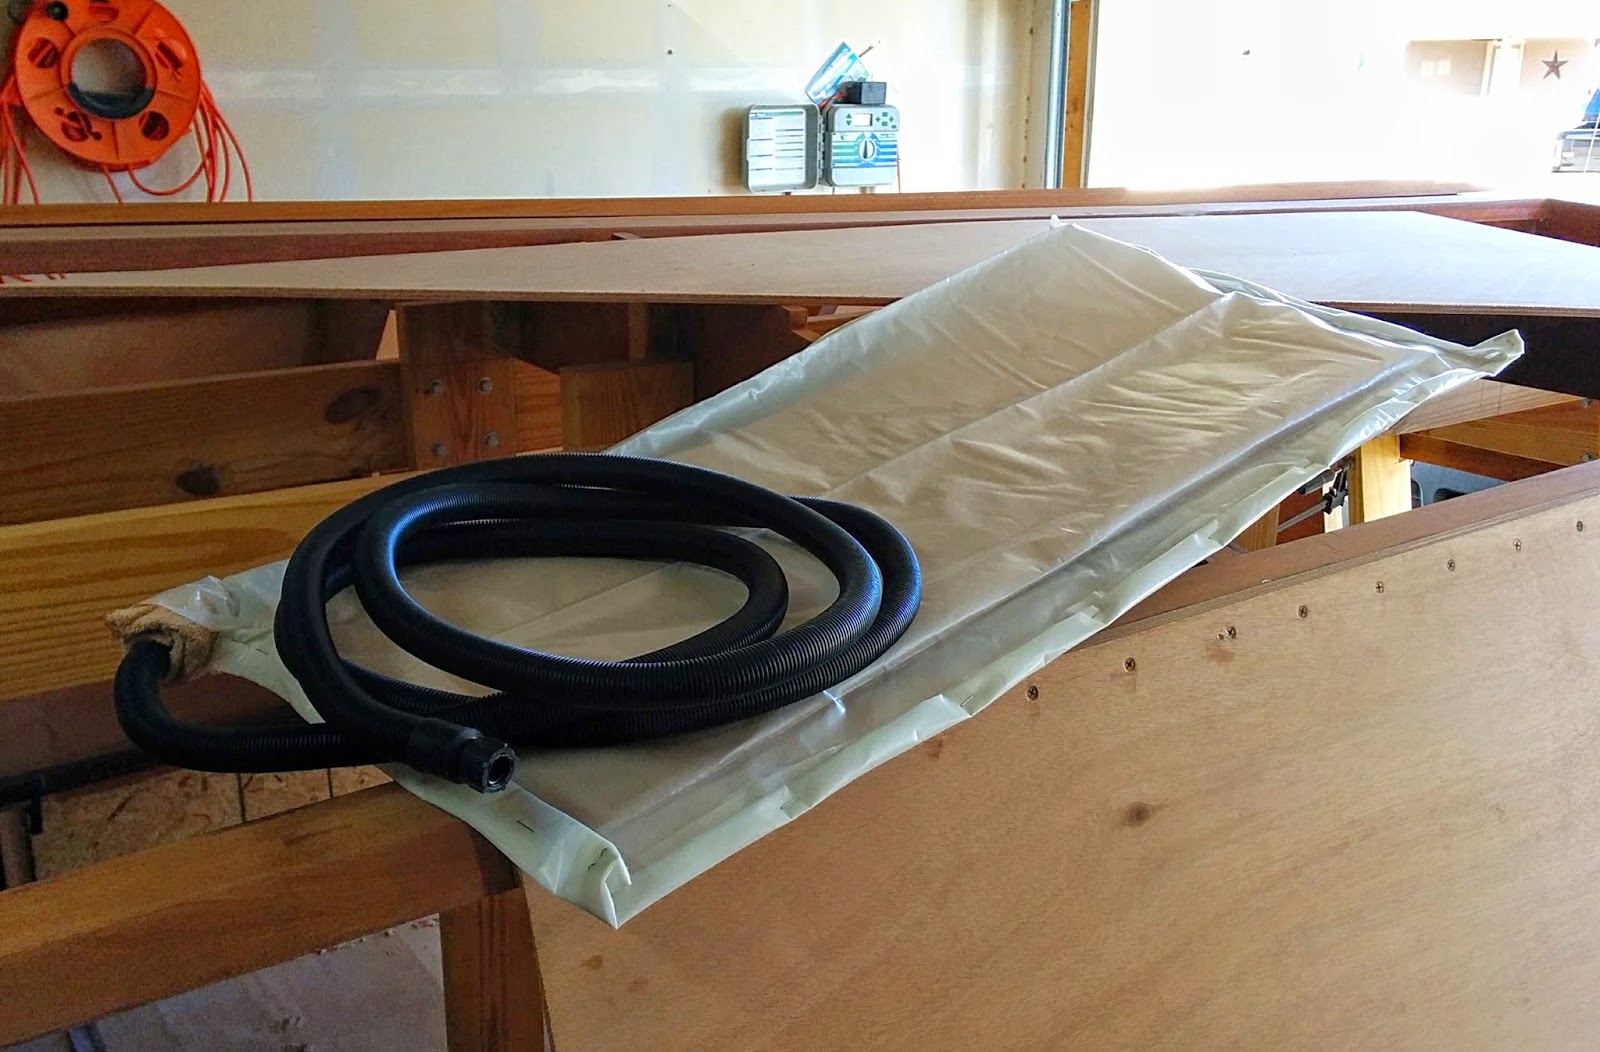
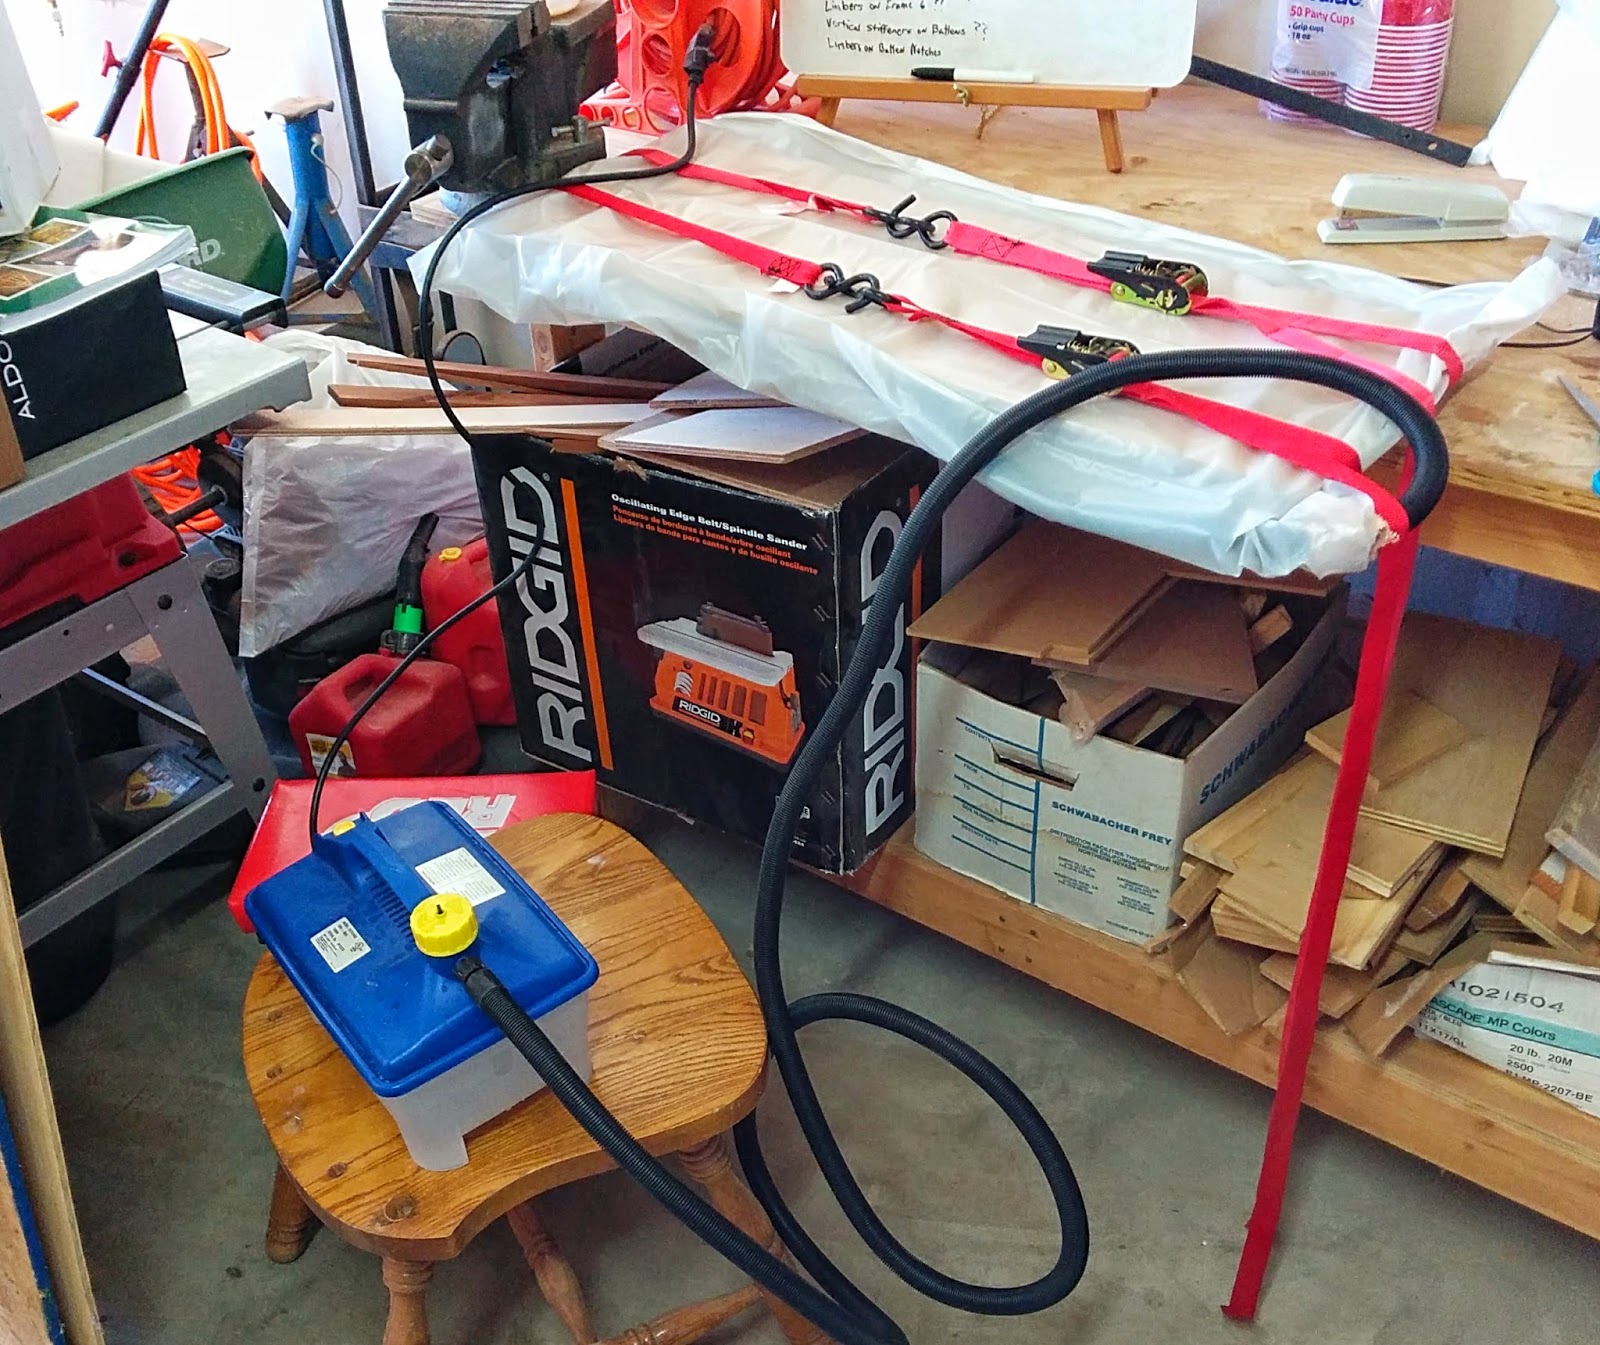
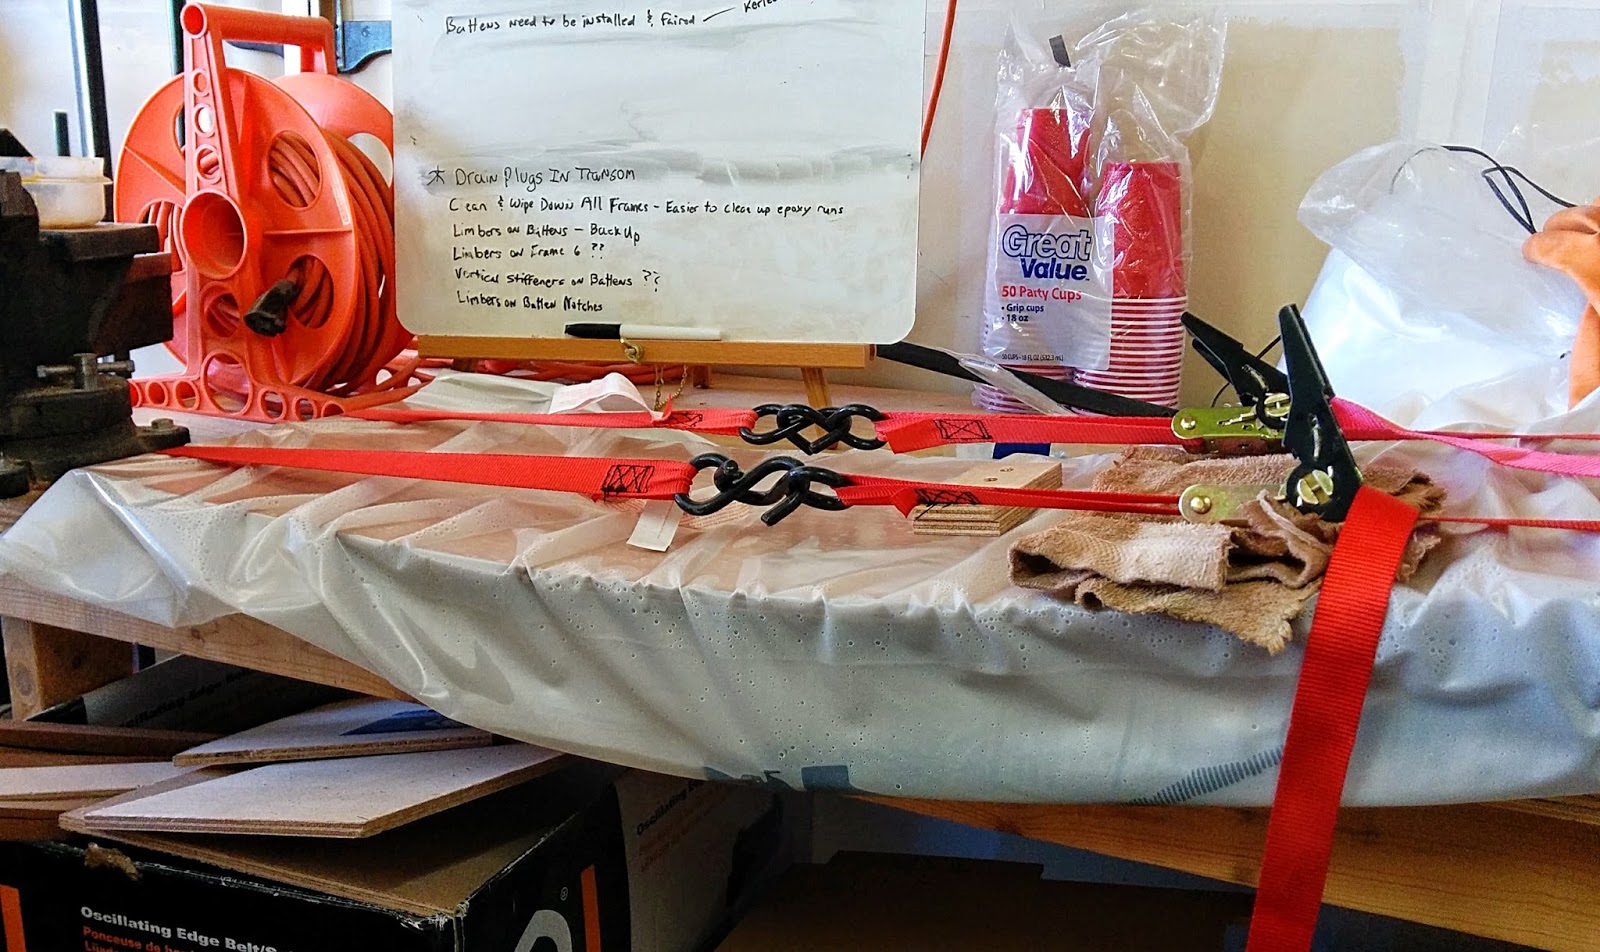
Notice that I have ratchet straps around the panel. More on this in a moment. These panels would not require much heat since they are fairly thin. After steaming them for about twenty minutes, they became pliable enough that I could press down in the center and then start ratcheting the straps to get a slight curve. Not much of a curve is needed.
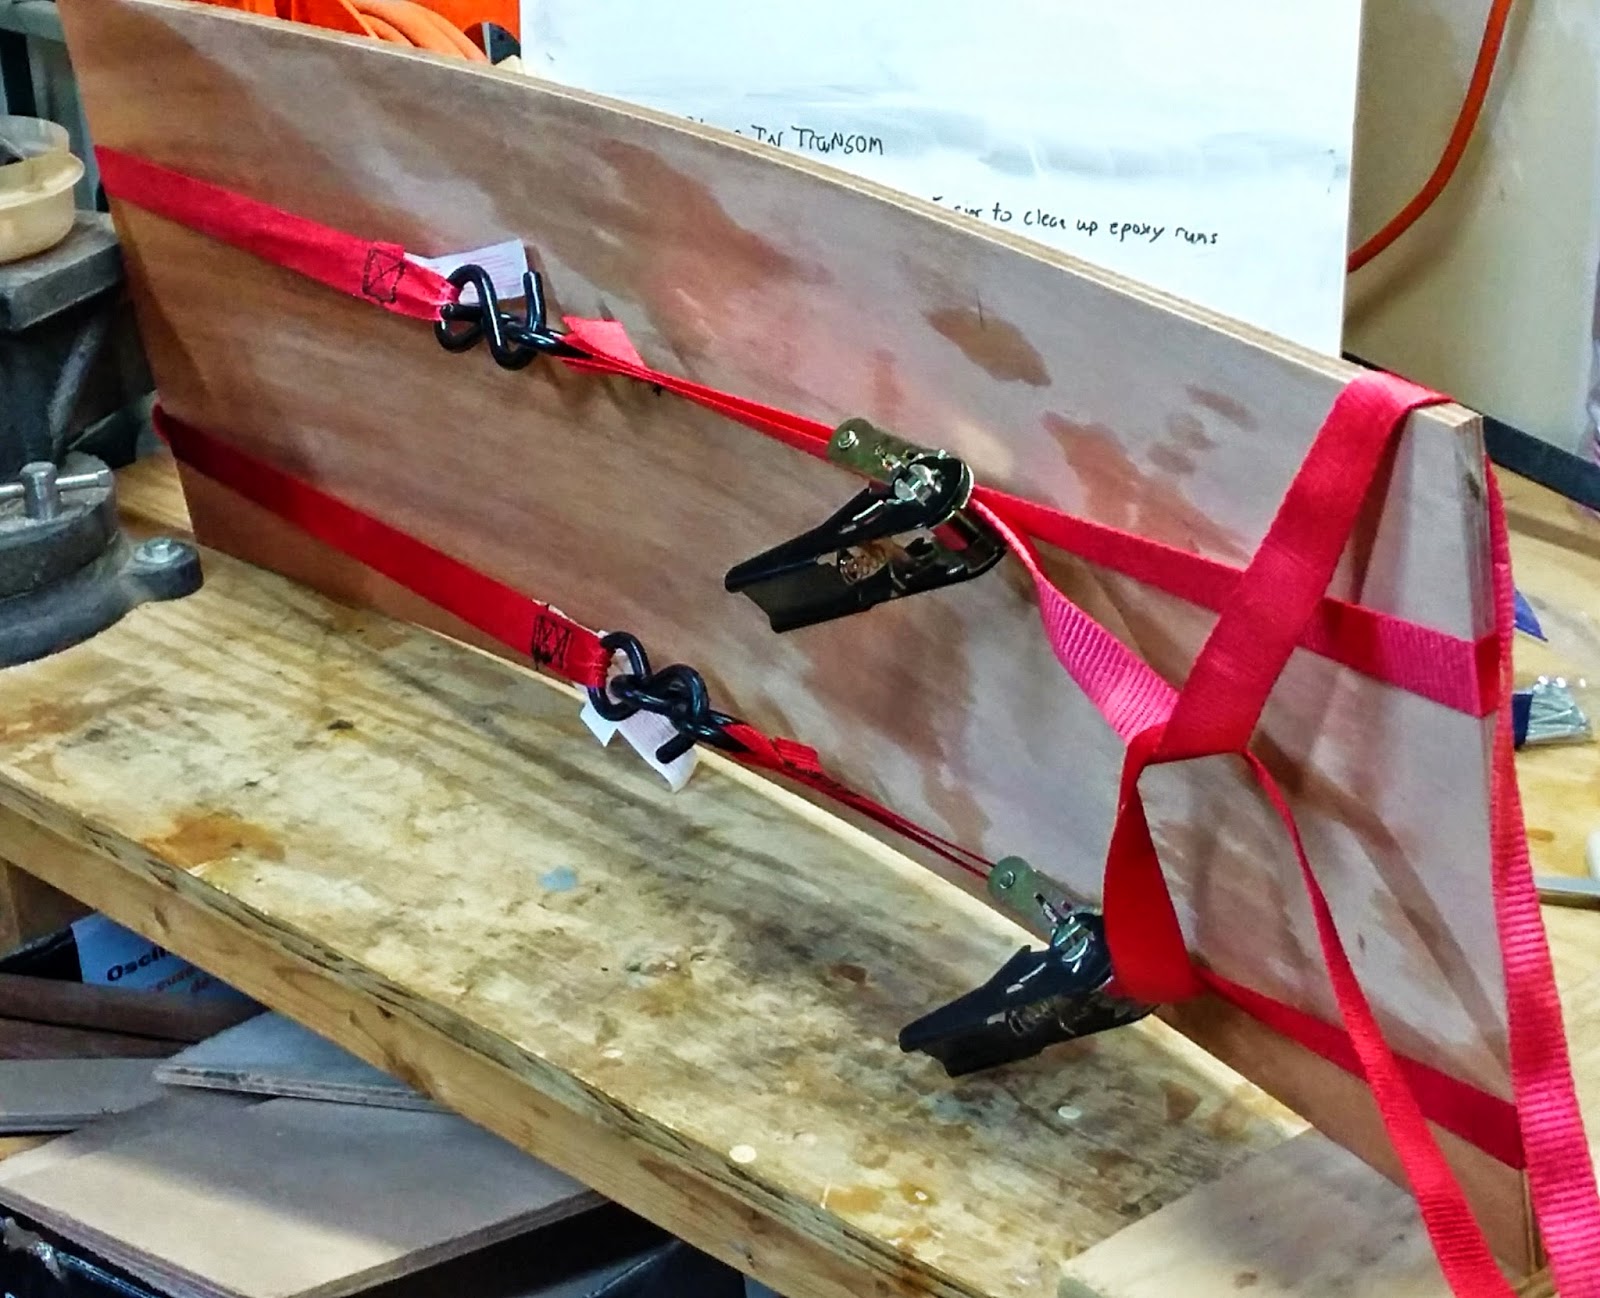
These were allowed to dry out and they retained enough of the curve to make them fit to the skins much better. There was no evidence of delamination so I deemed the experiment a success.
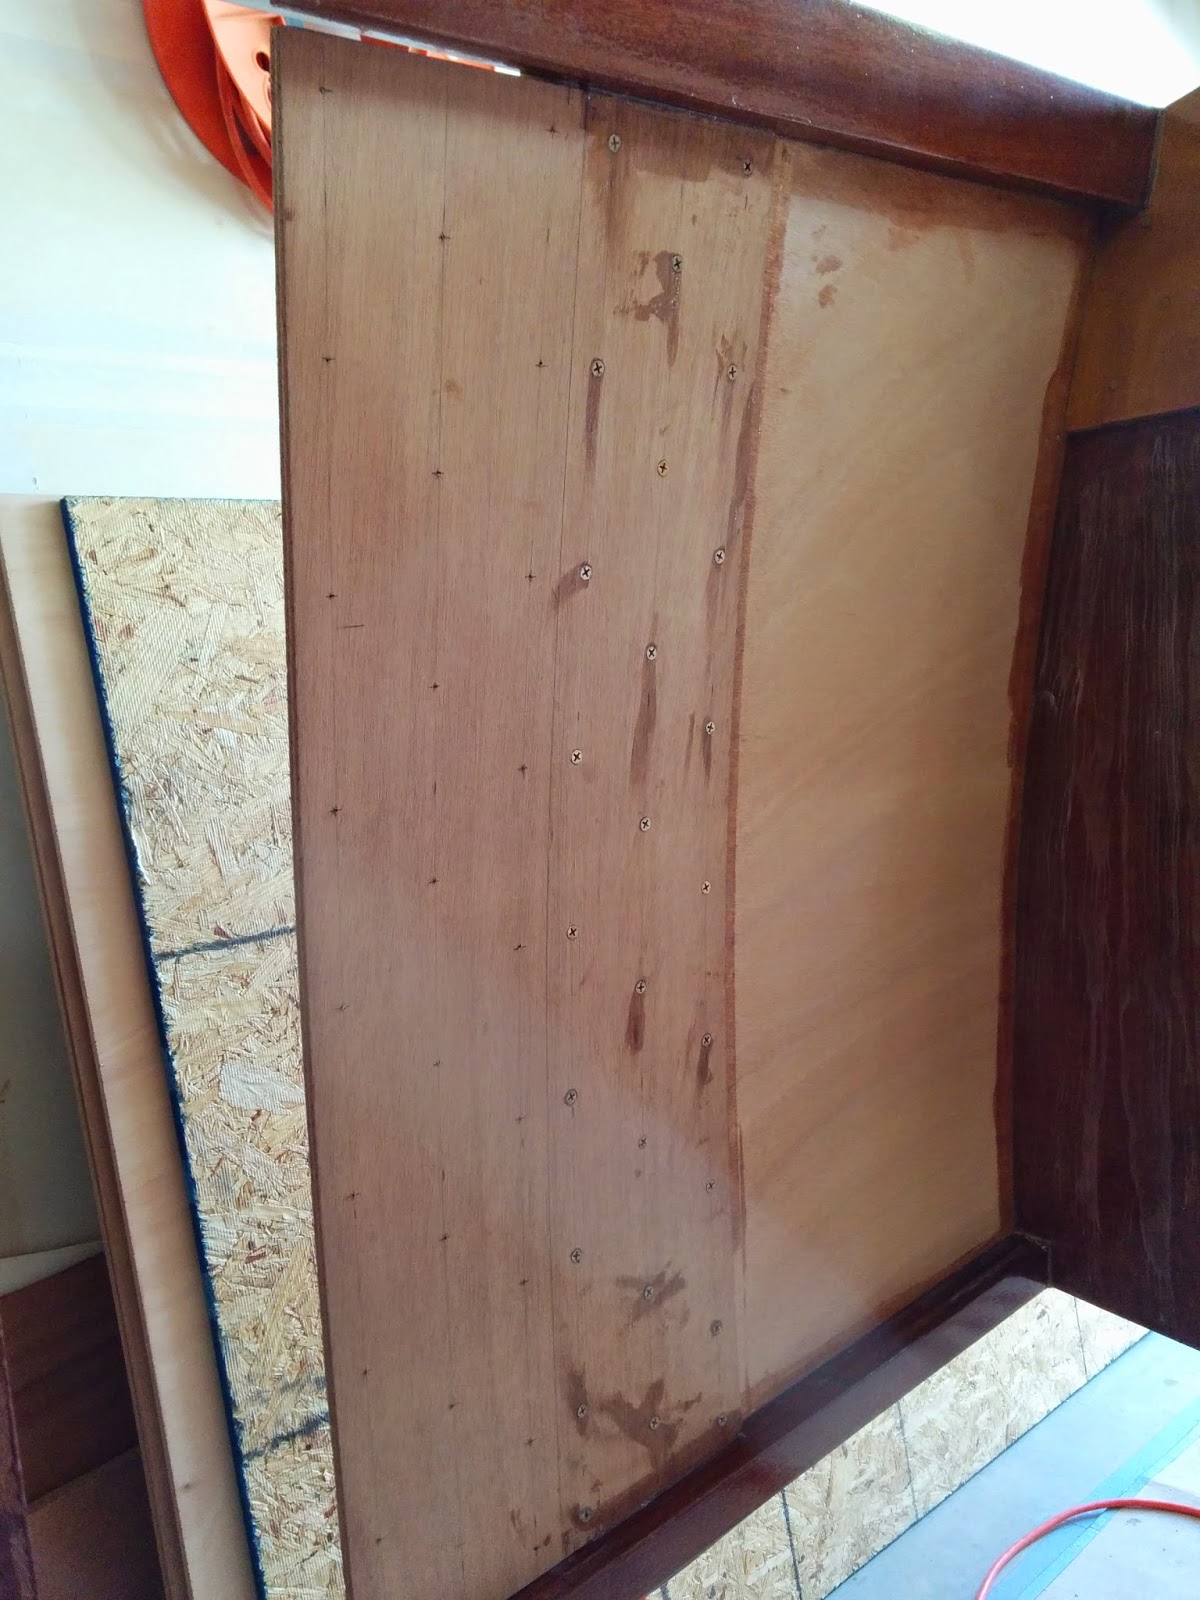
The plates were placed into position on the skins and cut to length. My plan was to epoxy them into position and used short silicon bronze screws to hold it together while the epoxy cured. The screws would be driven from the inside of the boat and WOULD NOT extend through the outside skin.
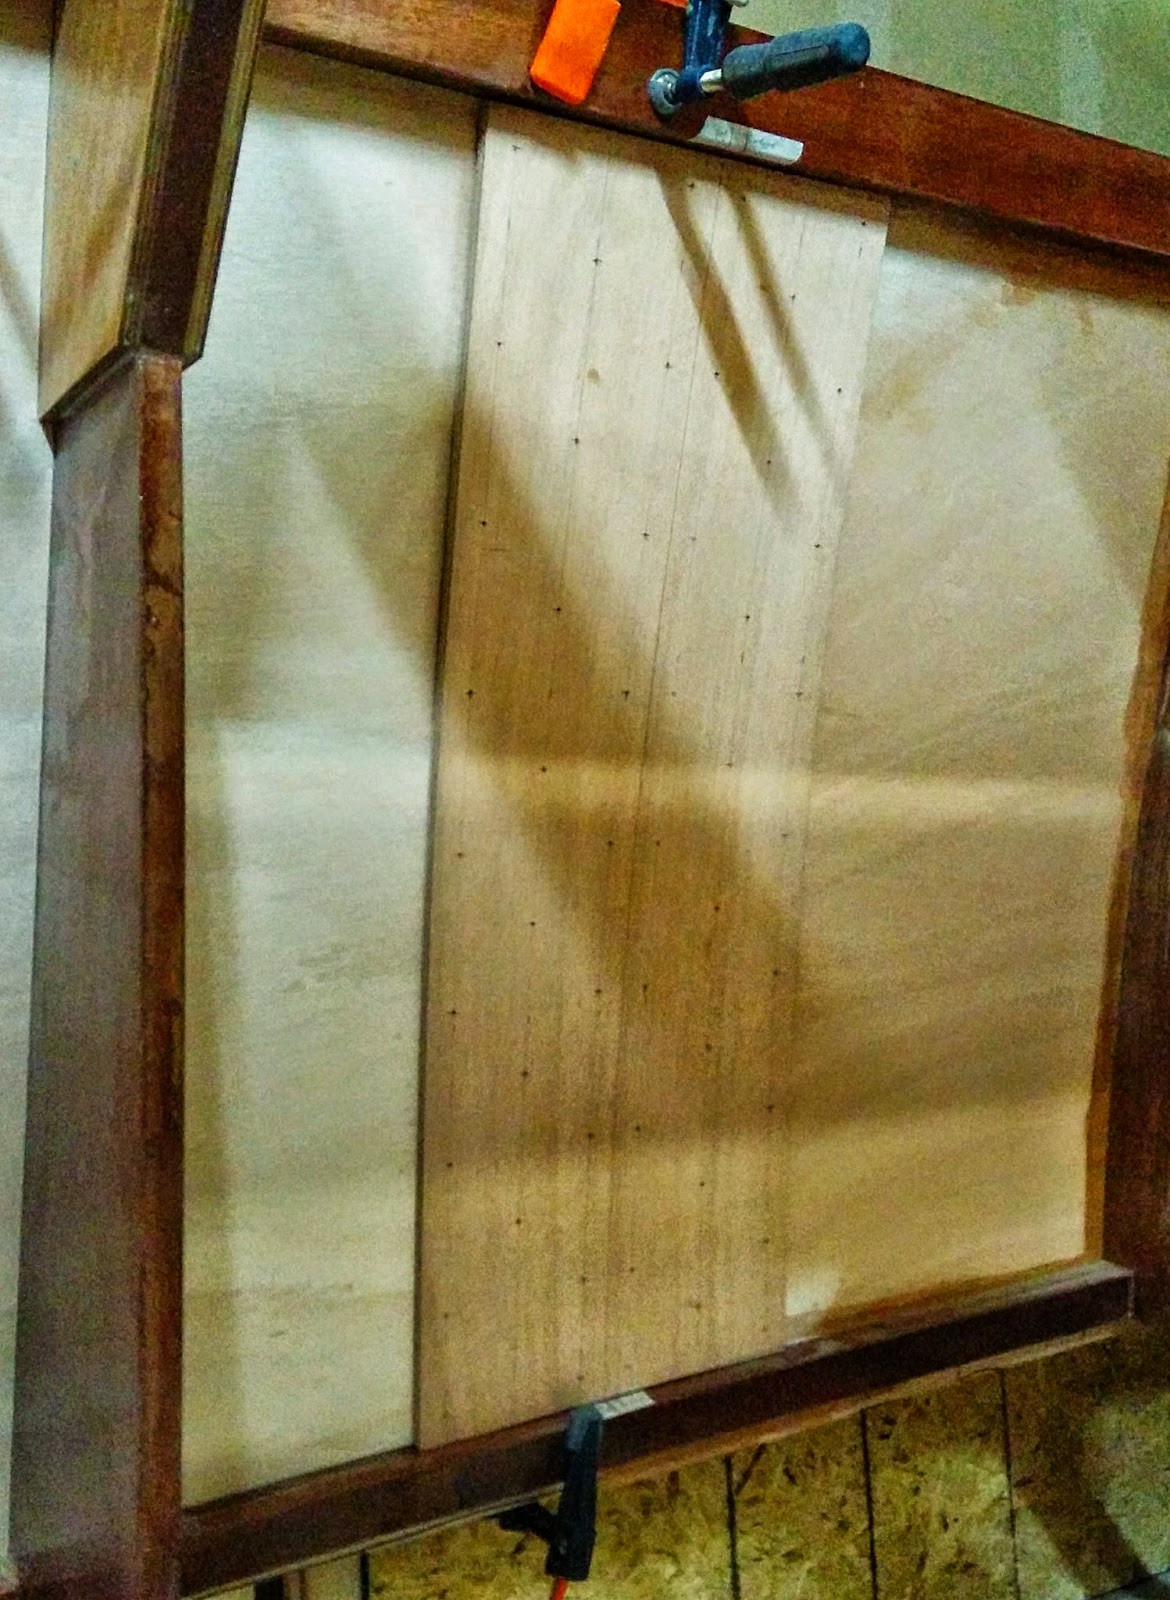
Doing the epoxy glue up was fairly straightforward for the aft panel plate, but the forward plate needed a twist in order to conform correctly to the skins. I had to use some clamps and a board to "persuade" this plate to stay in position. I found that the screws had insufficient bite to pull the panels down to the skin so I had to apply pressure at every location where I drove a screw. This was not easy and I intend on acquiring some deep throat "C" clamps for the next set of plates.

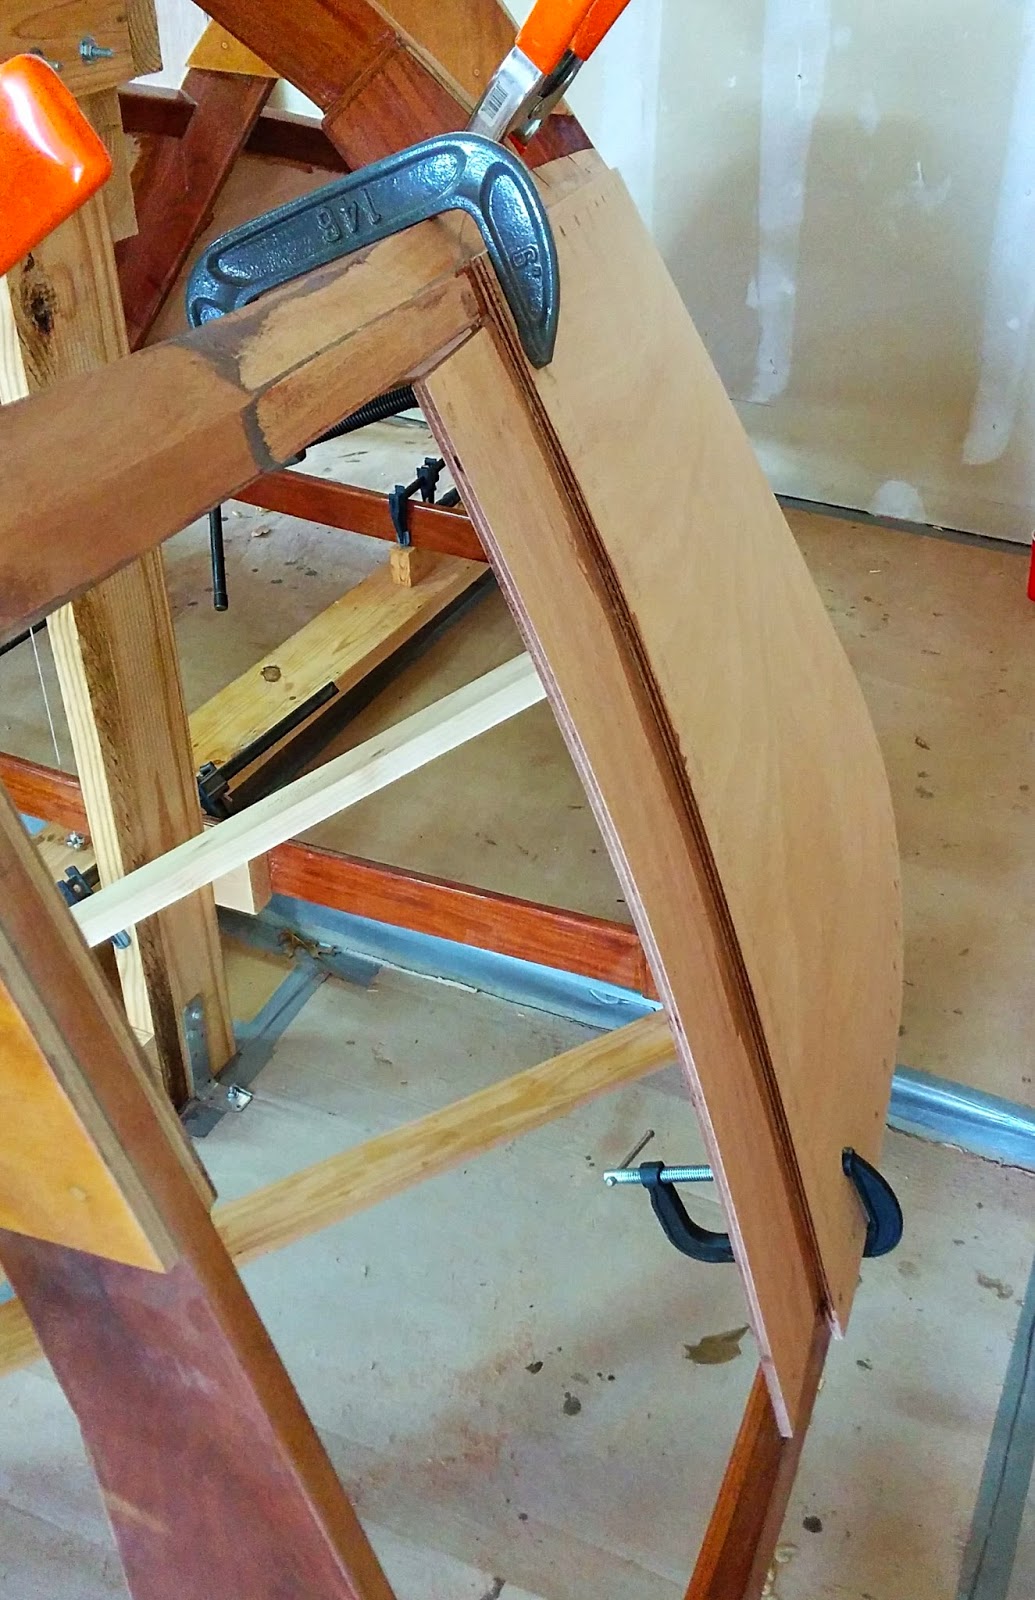
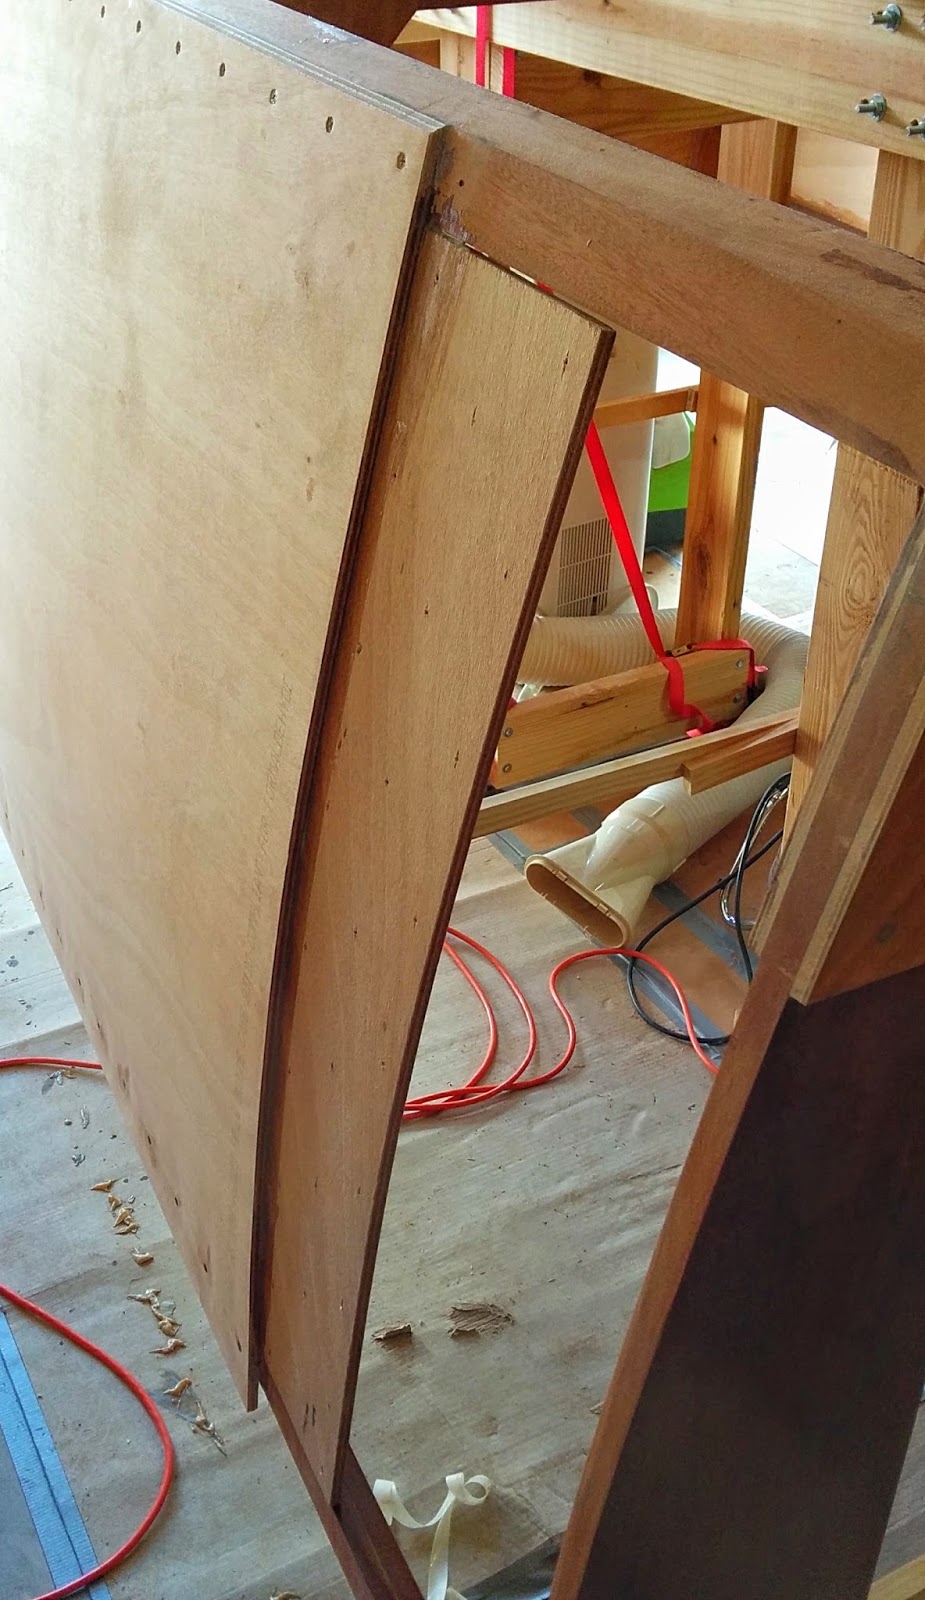
You can see in a couple of the pictures how I had to place a board to push against the backside of the twisted plate. And clamps are installed at opposite corners of the mating area. I was able to get everything down correctly, but as mentioned, I will be using more clamps next time.
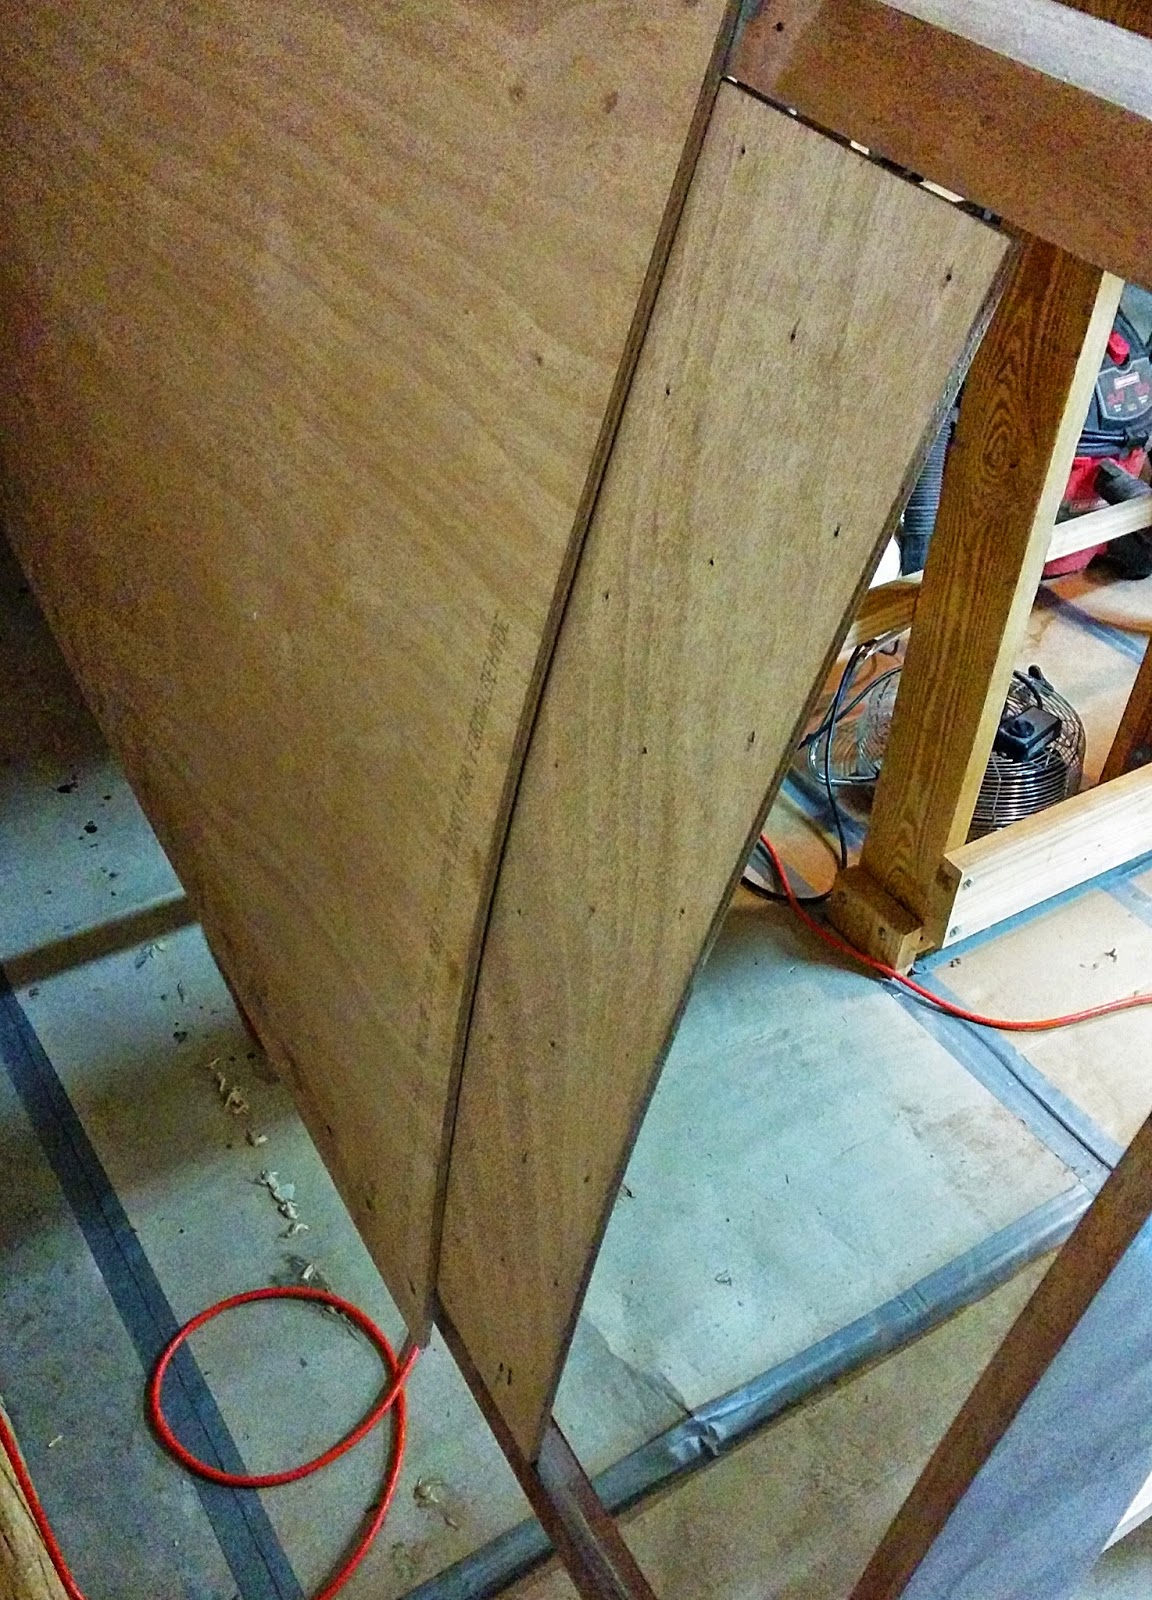
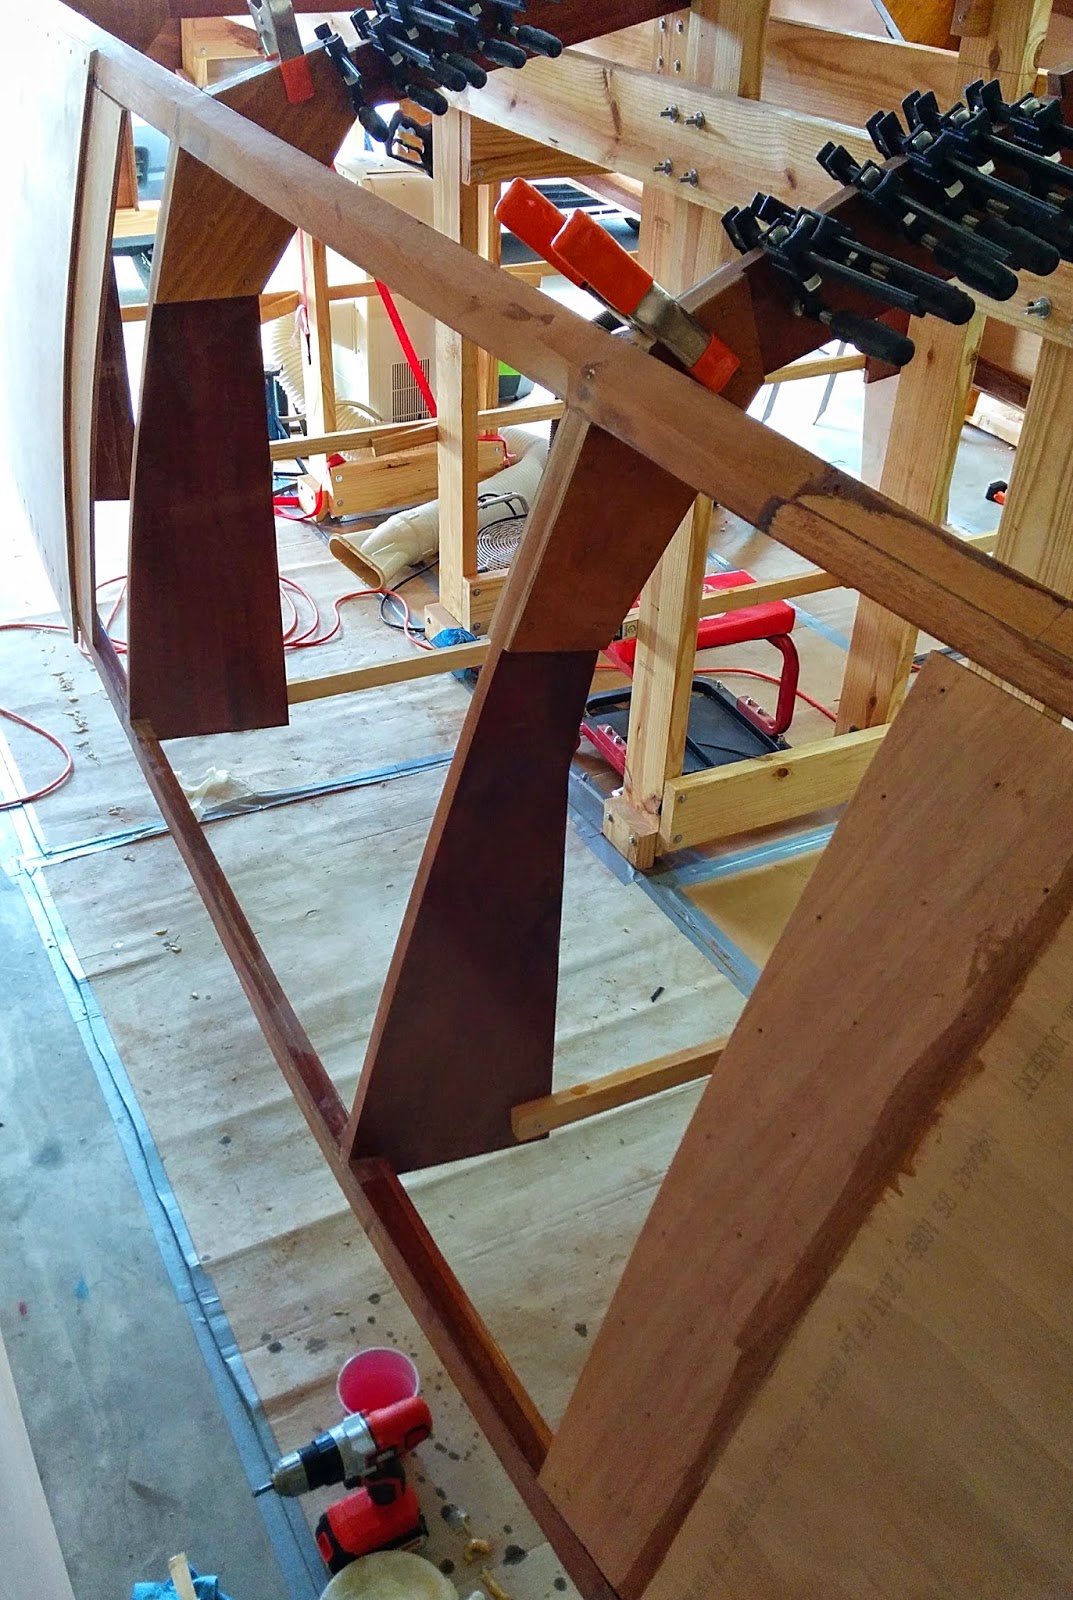
Finally, a shot showing both backing plates in position. You can clearly see how the plates will allow the center skin to attach at the joints in addition to their other connections on the sheer and chine. In a couple of days, after the epoxy has cured sufficiently, I will be attaching the center skin panel. Then I can move on to the starboard side.
So that is it for now. Hopefully, by the beginning of the new year, I will have the port center skin attached and the starboard center panel well along. Take care and enjoy the remainder of your holidays.
One approach is to scarf join the panels together end to end and then attach them to the boat. This can yield a very nice exterior finish and if done correctly, can be as strong as the rest of the panel. In areas of extreme curves or bending, this is probably the only way to join the panels unless the panel is applied in narrower pieces.
The scarfing approach has a few drawbacks for the builder who is primarily doing the work by themselves. First and foremost, the additional size of the joined panels makes it difficult to handle. On my boat, three panels would have to be joined together making the entire piece, 24 feet in length before trimming to size. Needless to say, this would be very difficult (but not impossible) to manage by yourself. Trimming the panel to size requires numerous sessions of installing and uninstalling ( as well as trimming and sanding) the panel before it is ready for installation. I do know of a builder who used this approach and was successful with it.
The second drawback from my perspective is that the larger panel requires a considerably longer time to install, with a corresponding increase in epoxy that needs application, and screws that need to be driven in place. I find my stamina to be challenged if it takes me longer than 2 hours to accomplish a single task. A 24 foot panel installation would undoubtedly take 4 or 5 hours (possibly longer) to get glued into place, all the screws driven down, and all the excess epoxy cleaned up. This estimate is based upon the length of time it took me to install a single panel and is an aggressive pace. Because of the time needed, trying to keep workable epoxy available during the installation would be very challenging.Again, not impossible, but at my age, I dont need the stress.
The second approach is to use butt joints. This allows panels to be installed one at a time and then joined together when needed. The joining together could, in theory, be done separately from the panel installation. A butt joint requires a backing plate to be installed in the inner surface of the joint. This backing plate needs to extend a sufficient distance onto each skin panel (6 inches each side in my case) and needs to be attached to both skin panels.
The biggest drawback to the butt joint approach is that the the backing plate is sometimes difficult to conform to a curve and therefore, the butt joint should preferably be in an area that is relatively flat. I had to deal with this (more in a few moments).
I have heard of a third approach that is similar to a butt joint in which the two panels are joined with fiberglass cloth on both sides, but I was not comfortable with this approach from a strength perspective. Admittedly, I am not that familiar with this technique and there may be more to it than I am aware of.
Because of the drawbacks to the scarfing method, I elected to go with butt joints on my skin panels. I have discussed this in several of my postings previously. The remainder of this posting will cover the installation of the center panel butt joint backing plates.
The skins already installed at the front and rear of the boat have a slight curve in the up and down direction. In addition, the front panel also has a slight twist to it in relation to the chine and sheer. The backing plates are from the same 9mm plywood used for the skins. They are 12 inches wide to allow 6 inches of mating surface on each side of the joint. The length is cut to allow the panel to fit between the sheer and the chine.

Because these plates are relatively short, getting them to conform to the previously mentioned curves is difficult due to the stiffness of the plywood. I decided to try and pre-bend them a bit using steam. I was a bit concerned about the steam heat causing the panels to delaminate, but the book I have on building plywood boats talks about using boiling water to get panels to bend when fitting them to the boat. So I figured it would be okay to try and if I didnt like the results, I could always try something else.
So I broke out the steaming technique I used previously on the chines and sheers (using plastic bagging and a steam generator). The panel was wrapped in the plastic sheeting and then connected to the steam generator.


Notice that I have ratchet straps around the panel. More on this in a moment. These panels would not require much heat since they are fairly thin. After steaming them for about twenty minutes, they became pliable enough that I could press down in the center and then start ratcheting the straps to get a slight curve. Not much of a curve is needed.


These were allowed to dry out and they retained enough of the curve to make them fit to the skins much better. There was no evidence of delamination so I deemed the experiment a success.
The plates were placed into position on the skins and cut to length. My plan was to epoxy them into position and used short silicon bronze screws to hold it together while the epoxy cured. The screws would be driven from the inside of the boat and WOULD NOT extend through the outside skin.


Doing the epoxy glue up was fairly straightforward for the aft panel plate, but the forward plate needed a twist in order to conform correctly to the skins. I had to use some clamps and a board to "persuade" this plate to stay in position. I found that the screws had insufficient bite to pull the panels down to the skin so I had to apply pressure at every location where I drove a screw. This was not easy and I intend on acquiring some deep throat "C" clamps for the next set of plates.


You can see in a couple of the pictures how I had to place a board to push against the backside of the twisted plate. And clamps are installed at opposite corners of the mating area. I was able to get everything down correctly, but as mentioned, I will be using more clamps next time.
Finally, a shot showing both backing plates in position. You can clearly see how the plates will allow the center skin to attach at the joints in addition to their other connections on the sheer and chine. In a couple of days, after the epoxy has cured sufficiently, I will be attaching the center skin panel. Then I can move on to the starboard side.

So that is it for now. Hopefully, by the beginning of the new year, I will have the port center skin attached and the starboard center panel well along. Take care and enjoy the remainder of your holidays.
Subscribe to:
Post Comments (Atom)
No comments:
Post a Comment